How to paint a 3D weapon for a realistic effect?
3DRepCreations
6/18/20251 min read
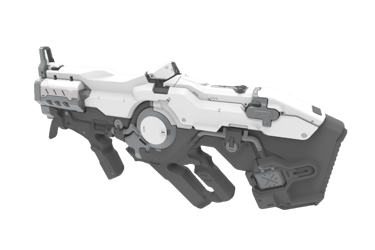
Painting is the key step that transforms a 3D printed replica into a visually believable weapon, worthy of a movie or professional-level cosplay. Here's a handy guide to achieving a realistic finish.
1. Surface Preparation
First, make sure the replica is thoroughly sanded and dust-free.
· Sanding: Use sandpaper (220 to 400 grit) to remove any visible 3D printing layers.
· Cleaning: Wipe with a dry cloth or isopropyl alcohol to remove dust and residue.
2. Primer Application
A good primer ensures better paint adhesion.
· Use a plastic primer spray (gray or matte black).
· Spray lightly from about 20-30 cm away.
· Let dry for at least 1 hour (or according to the manufacturer's instructions).
3. Base Coat
This is the main layer that gives the weapon its overall color.
· Choose a quality acrylic or spray paint.
· Apply in thin, crisscrossing coats.
· Recommended colors: matte black, steel gray, military green, sand beige, depending on the model's style.
4. Weathering Effects
This is where the weapon comes to life.
· Dry Brush: Use a nearly dry brush with metallic paint to simulate wear on the edges.
· Wash: Apply diluted paint (black, rusty brown) to the hollows to accentuate details.
· Scuffs: Add small marks with a sponge or fine brush for an impact or scratch effect.
5. Seal the Paint
Protect the work with a clear varnish.
Recommended finish: matte or satin varnish for a more realistic finish (glossy varnish is rarely suitable for weapon replicas).
Let the varnish cure for several hours before handling.
6. Additional Tips
Test the colors on a piece of PLA before applying to the replica.
Provide a well-ventilated work area.
Use gloves to avoid fingerprints.
With patience and the right tools, your 3D replicas will look worthy of the biggest film sets. Remember: it's the little details that make all the difference!